The Scene.name returns a run-time, read-only, string value. The name limits to 244 characters. The Scene name defaults to scene. The user changes the name during game creation.
The following script example changes the Scene depending on GUI.Button clicks and the name of the Scene. To make this example work:
- Create a Project with two Scenes, scene1 and scene2.
- Attach the script below to a GameObject added to scene1.
- Attach the same script to a GameObject added to scene2.
- Click on the GameObject and go to the Inspector.
- In the My First Scene field and My Second Scene fields, enter the names of the Scenes you would like to switch between, scene1 and scene2.
- Select scene1 by double-clicking it in the Project, and press Play. The scene1 scene will appear.
- Click the Load Next Scene button and scene2 will be loaded.
SampleScene in unity is the default name so it may create problems if we import other package scenes with the same name in unity projects. It is a good practice to change the name from "SampleScene" to your custome name.
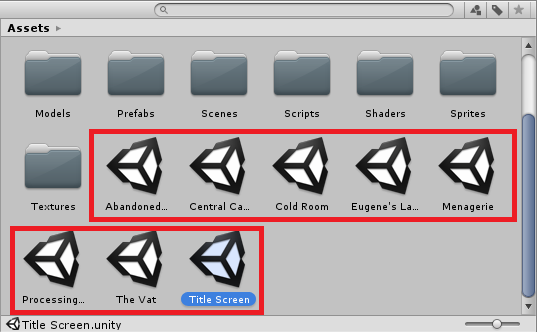
You can rename the scenes inside the Project/Assets/Scenes folder (instead of from inside the Hierarchy).
You should be able to click the scene once (in the editor), and then when you click it again, it should let you rename it. That said, I have had trouble renaming scenes and I'm not sure why. In those cases, File->Save As. This will save it as a new scene. Then you can delete the old one.
The scene name doesn't really matter, but having some kind of strategy and pattern to naming your scene can help when you get to the point of loading levels within your game
